This article serves as a simple guide on best way to use charcoal grill, perfect for both new and professional cookers wanting to have their skills refreshed. It breaks down the process into four main steps to make grilling with charcoal easy and fun, including how to set up the grill and attain a perfect cook for your meat. Whether you are having an outdoor barbeque or just a simple cookout during the weekend, this manual will assist you maximize on the utilization of your charcoal grill.
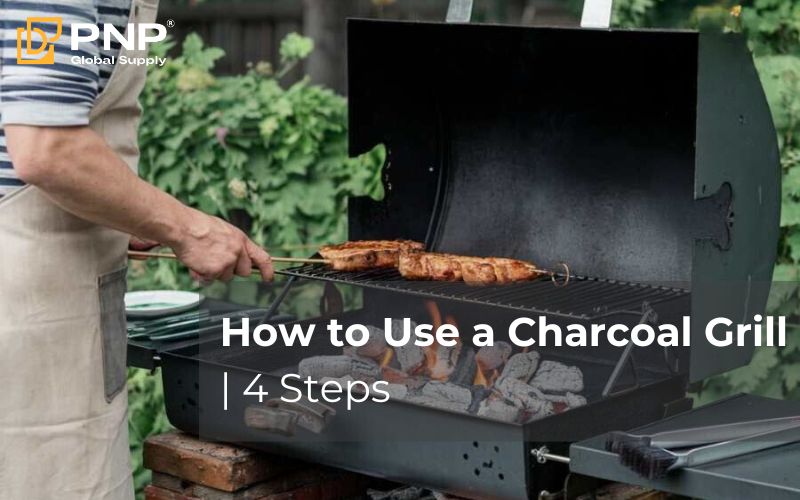
How to Use a Charcoal Grill?
Grilling using charcoal briquettes or wood charcoal is one of the oldest cooking methods, a practice that offers flavors rich in smokiness and cannot be compared to any other grilling technique. No matter if you are an experienced griller or just starting, knowing some basic principles of how to use a charcoal grill may enhance your BBQ. The following manual covers lighting coals, temperature regulation, and both direct/indirect heating to ensure grilling remains enjoyable and effective for you. With practice, you will be able to create perfectly grilled vegetables, meats, etc., having that classic burnt flavor.
Getting the Charcoal Ready
How to use a charcoal grill is of great importance in deciding the heat and flavor of food, therefore; success in grilling depends on that. First, check that the setup of your charcoal enables equal as well as uniform cooking all through.
Step 1: Lay Briquettes in a Charcoal Chimney
The first thing is to fill up the charcoal chimney with just the right amount of briquettes. A metal cylinder that keeps the charcoal in position thus allowing it to light evenly and efficaciously is what the chimney looks like. For this reason, using a chimney is especially good because no lighter fluid is needed; otherwise, it may give an awful taste to your meals. Therefore, you need to fill the chimney up to the level you require depending on how much heat for cooking will be needed.
Step 2: Prepare your fire starter
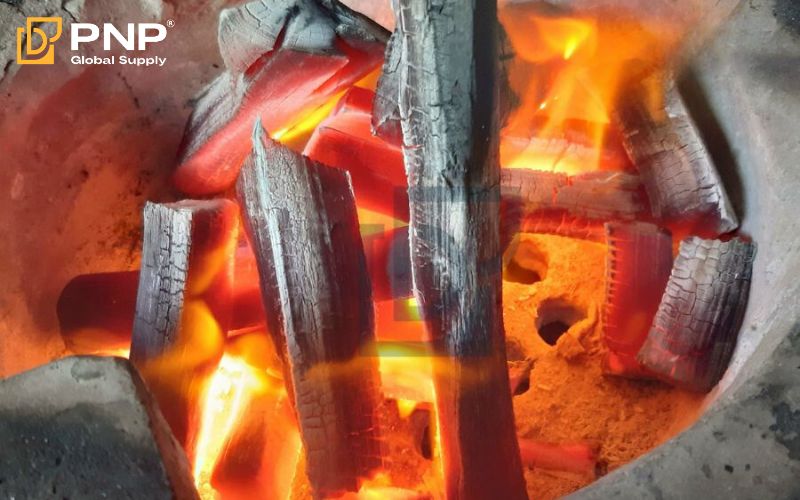
To ignite your charcoal you will need a fire starter. In most cases, crumpled paper and a small quantity of vegetable oil are used. When mixed with paper crumples, this liquid makes them burn longer so that there are enough hot pieces which help ignite charcoal uniformly. Place the newspaper underneath the chimney and lightly coat it with oil before placing the chimney above said paper.
Step 3: Light the Chimney
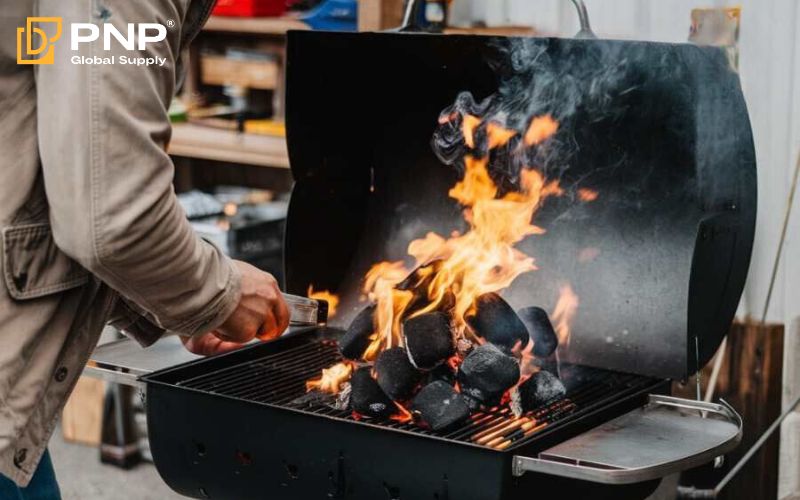
Once your fire starter is in place, at various locations ignite the paper using a matchstick or lighter. Flames will then rise through the chimney, eventually lighting up charcoal. It is necessary to observe the process because white ash covering coals means they are ready for grilling which takes about 15-20 minutes.
Step 4: Arrange Charcoal for Cooking
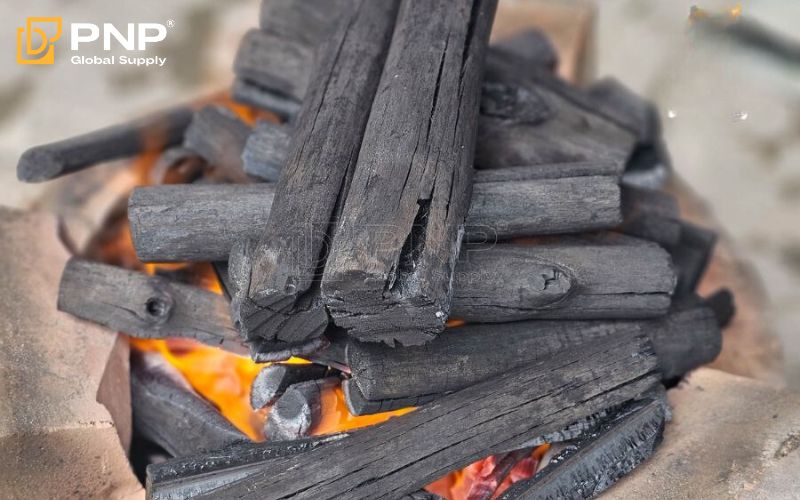
Once all charcoal briquettes are completely burnt, pour them into the grill and compile them as per your cooking needs. It is advisable that you spread out coals evenly across the grill for quick cooking like burgers or hot dogs. This ensures constant high temperature. However when it comes to meat which takes longer time such as ribs or chicken prepare heat zones by putting more coals on one side and fewer on another hence a cooler zone. This arrangement allows searing at high temperatures and then moving that piece of meat towards the cooler side so it can continue gentle steaming until done.
Preparing the Grill for Food
Step 1: Cleaning The Grill Grate
The first thing when preparing your grill for food is to clean the grill grate. Start by using a grill brush so that you can remove any debris left from previous cooking sessions. This way you prevent old particles of food from sticking to your fresh ingredients and this ensures a clean surface for grilling. You can use a ball of aluminum foil or even half an onion as a natural cleaner for tougher residue. Clean the grate both before and after cooking to maintain its cleanliness and avoid flare-ups.
Step 2: Add Wood Chips for Flavor Enhancement
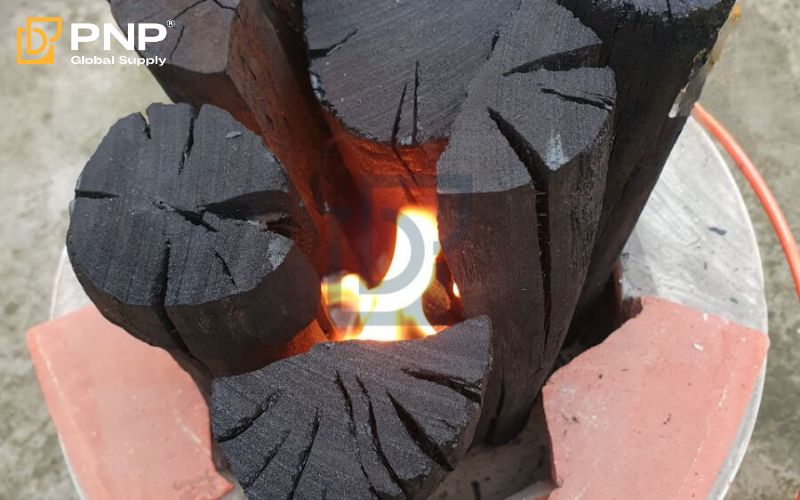
Wood chips can be added to charcoal to infuse deeper smokey flavors in food preparations for people desirous of them. Additionally, different types of wood chips such as hickory or mesquite both produce different tastes. As such, before putting them in the grill let them soak in water for about 30 minutes in order not to burn too fast. After soaking them sprinkle them directly onto hot coals or place them in a smoker box if you wish to have more controlled smoke levels.
Step 3: Place Food on the Grill
Grilling is all about what way you place your food on the grate it affects both cooking times and results in quality. For example, steaks, burgers, or vegetables that tend to cook very fast should be placed right above the hottest part of the grill so they can get a good seat. Conversely, bigger pieces of meat should be placed away from direct heat on the colder side of a gas barbecue due to their long cooking process for instance chicken or ribs. This way helps to achieve a slow even cooking, thus reducing their chances of being burnt outside and making sure that they are completely done inside.
How to use a charcoal grill cooking your food
Step 1: Cover the Grill if Necessary
When slow-cooking or grilling larger cuts of meat that require more time to cook, it’s important to cover the grill. As a result, it creates an oven-like atmosphere that helps your food to be evenly cooked inside out because it traps the heat inside. This technique works best with meats like chicken, ribs, or roasts which require a lower consistent temperature to be properly cooked without burning their outer layer
Step 2: Adjust the Grill’s Dampers
The dampers on your grill control the flow of oxygen, which influences heat. This means that by opening the dampers oxygen is allowed to reach the coals increasing the temperature while closing them limits air access thereby lowering it. For high-heat searing, keep the dampers open but if you want to cook slowly close them partially to maintain a steady low temperature. In conclusion, master damper control for effective management of heat levels in your grill.
Step 3: Check Food Temperature
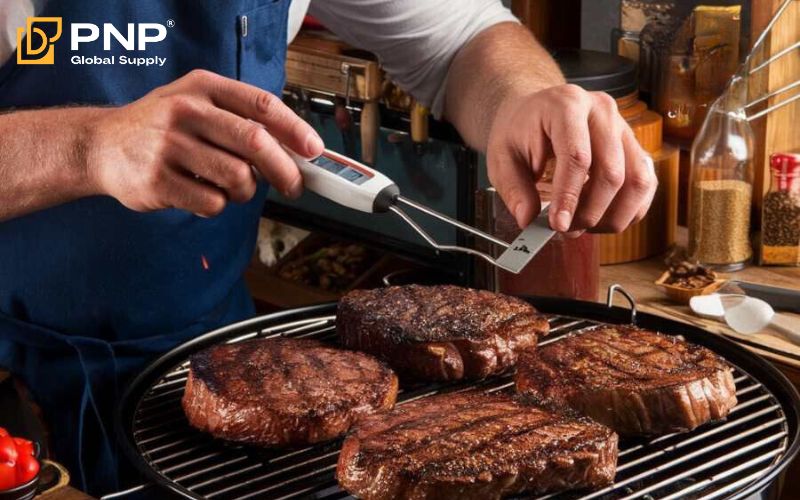
Because of safety-related issues, it’s advisable to take the internal temperature of your food using a meat thermometer to ensure that it is well-cooked. Some recommended safe cooking temperatures for different types of foods include; ground meat at 1600 F, poultry at 1650 F, and fish, beef, and pork at 1450 F. You check the temperature thereby avoiding both unsafe undercooking and dry overcooking.
Step 4: Close the Grill and Dispose of Ashes
After cooking, it is advised to close the grill so that it can extinguish coals safely, then allow it to cool down. The ashes should be disposed of once they have cooled down completely (usually by morning). To prevent any chance of fire hazards between the grills’ uses and have a clean grill for the next time, scoop out the ashes into a metal container with a lid or wrap them up tightly in heavy-duty aluminum foil before throwing them away in an incineration resistant bin.
Elevate Your Grilling Game with Premium Charcoal from PNP Charcoal
Grillers can enhance their experience using high-quality charcoal from PNP Charcoal, which has been a trustworthy name since 2015. PNP Charcoal specializes in producing and supplying charcoal, which is supported by a team of experts who are dedicated to making premium products. Thus, PNP Charcoal dedicates itself to ensuring quality through even heat and clean burn every time. It has built a good name in the market and intends to aid the Vietnamese charcoal industry while exporting its exquisite goods all over the world for grillers’ best outcomes.
Conclusion
To sum up, mastering how do you use a charcoal grill can improve an individual’s outdoor cooking experience in terms of flavor and enjoyment. If you follow these basic instructions, you will get an ideal result while grilling. PNP Charcoal would be perfect for those who want only the best charcoals for their barbecuing abilities. Contact PNP Charcoal now to acquire some high-quality coal that will burn evenly and leave minimal residue behind, thus further enhancing your culinary trips on a hot plate.


